Reorganizing The Kitchen Pantry
I’m Reorganizing my life…. starting with my baking supply cupboard. I’ve got to start somewhere, right?
Reorganizing my kitchen is part of my Reorganizing 2012 Project, where every week I find a project to reevaluate, reinvent and reorganize using a tool I’ve found to be innovative and inspirational- Pinterest.
My baking supply cupboard may seem like an odd place to start, but honestly it’s given me the most anxiety lately. It’s been over a year since I’ve cleaned it out, and after the holiday baking extravaganza, I don’t even want to open it.
Getting Creative with Tight Spaces
I would love to say that I have a huge walk-in pantry to work with, but truthfully my kitchen lacks the ideal storage space for someone calling themselves “The Organized Cook”. My kitchen storage space is not appropriately proportioned for the considerable size of my home, further proving my assumption that my house was designed by a man. After all, I do have a walk-in wine room… but no walk-in pantry.
Which is why I must get creative with the storage space I do have. My baking supplies are separate from my cooking supplies and spices and from my pantry cupboard.
So where to start? With step 1, of course.
Step 1: Assess The Damage
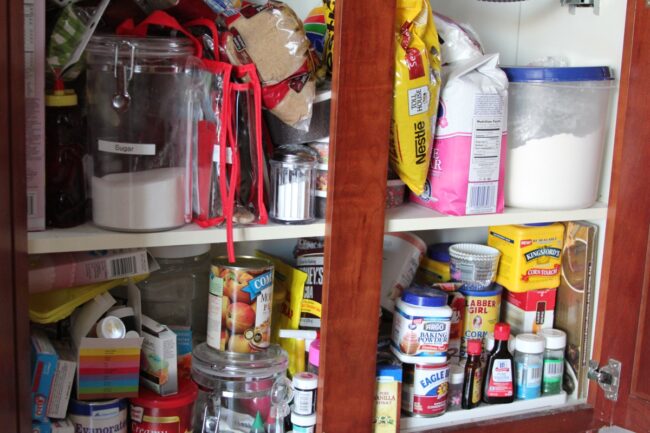
after holiday baking and a year of neglect- yikes!
When supplies are difficult to find, it slows you down in the kitchen. Have you ever fumbled around in the baking cupboard looking for the corn starch while your sauce that needs thickening begins to burn?
Organization also saves you money at the grocery store. Have you ever bought a bag of brown sugar for a recipe, only to find later that you have two open bags in the pantry? I have, and what a waste it is.
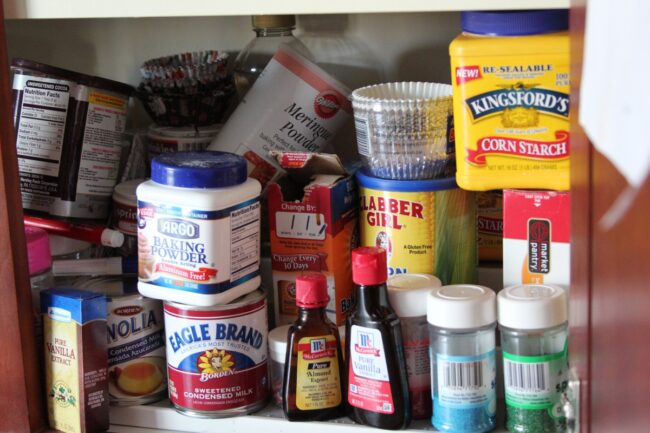
unorganization makes it difficult to find supplies and slows you down
Step 2: Empty The Cupboard. Yes, the entire cupboard.
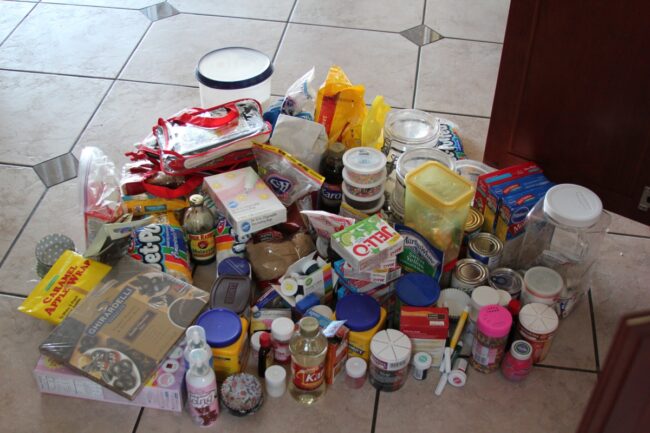
empty the cupboard of all contents
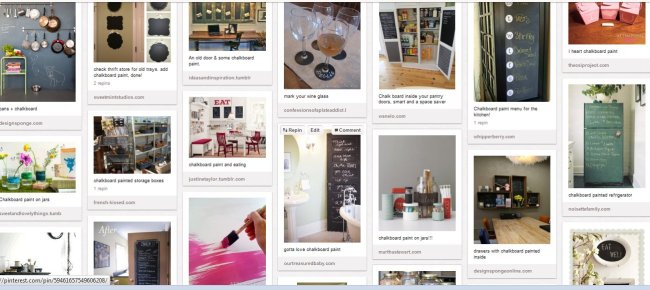
By emptying the cupboard of all its contents it first allows you to look at the space with fresh eyes. Don’t panic when you see the mess of items on the floor. Instead, think creatively about how you want the space to look. Having trouble thinking creatively? Let our Pinterest Board help you out with some ideas!
This also gives you the opportunity to look through the supplies to:
- check expiration dates
- make a grocery shopping list of items you’re low on or out of
- give away unopened supplies that you’ll never use to your local food bank
I had two cans of peach pie filling that were set to expire in a few months; I could either use them, donate them or toss them. I put them in my donation bag.
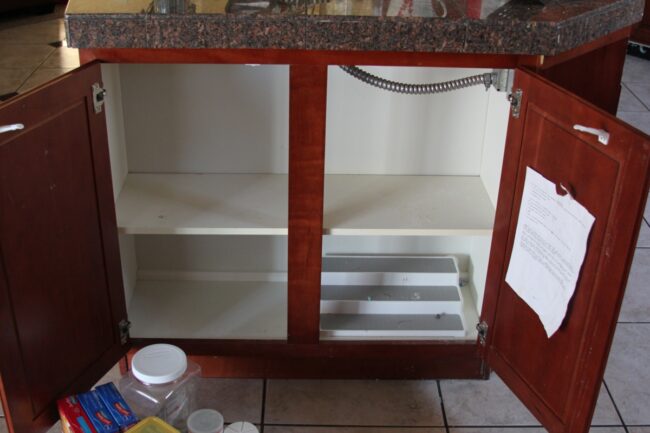
look at the space with fresh eyes
Step 3: Find Your Tools
With a few storage solutions, like shelving, you can maximize storage space and make it easier to find supplies. I found this pantry shelf at Target.
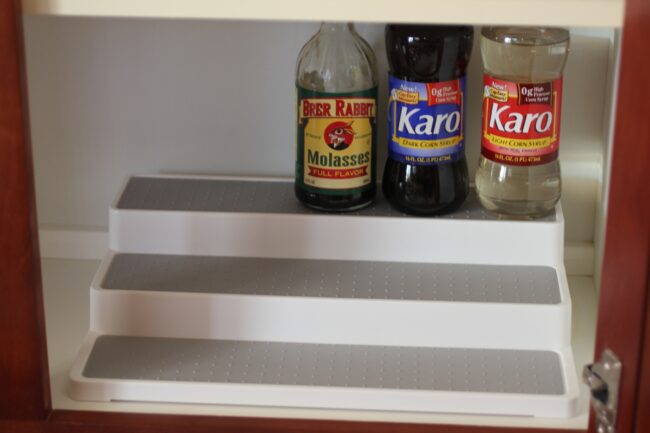
storage shelf from Target
Evaluate storage containers currently being used in your cupboards. This sugar container was too short for this space and wasted a lot of space in my cupboard.
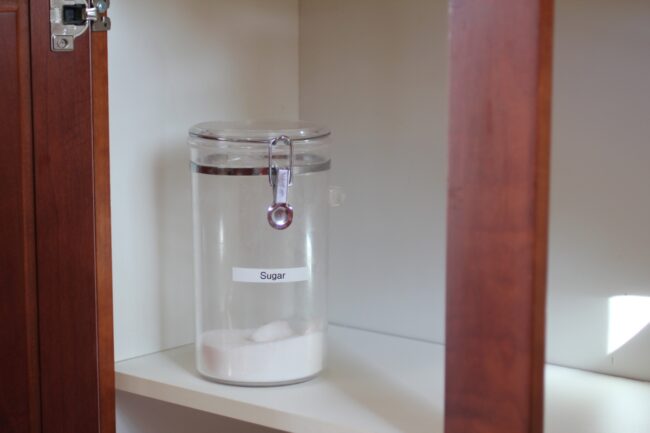
this sugar container was too short for this space
After some searching, I found the perfect sugar and flour storage containers for my baking cupboard at Pier1. It helps that they came in my favorite color, vintage Tiffany blue!
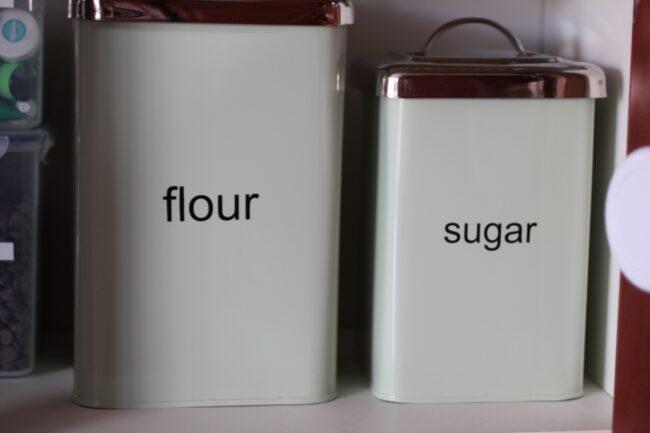
flour and sugar containers from Pier1- the perfect size!
Honestly, I would have loved to do something like this for my baking cupboard, but I’m hesitant to permanently alter my cupboard doors.

cupboard organization idea from Pinterest
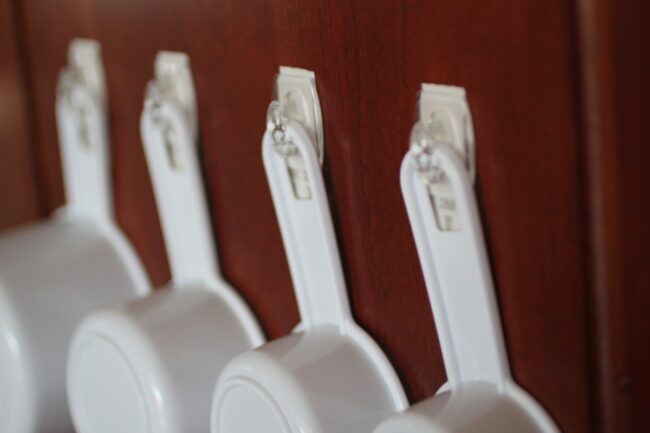
So, I found “no-damage” adhesive hooks to hang my measuring spoons. No more opening the cupboard for flour then going to another drawer for spoons; they’re right here at my fingertips now.
Using more “no damage” adhesive mounting, I secured this dry-erase board to the inside of my cupboard (also in Tiffany-blue). Now, when I have an idea for baking, I jot it down and am reminded of it every time I open the door.
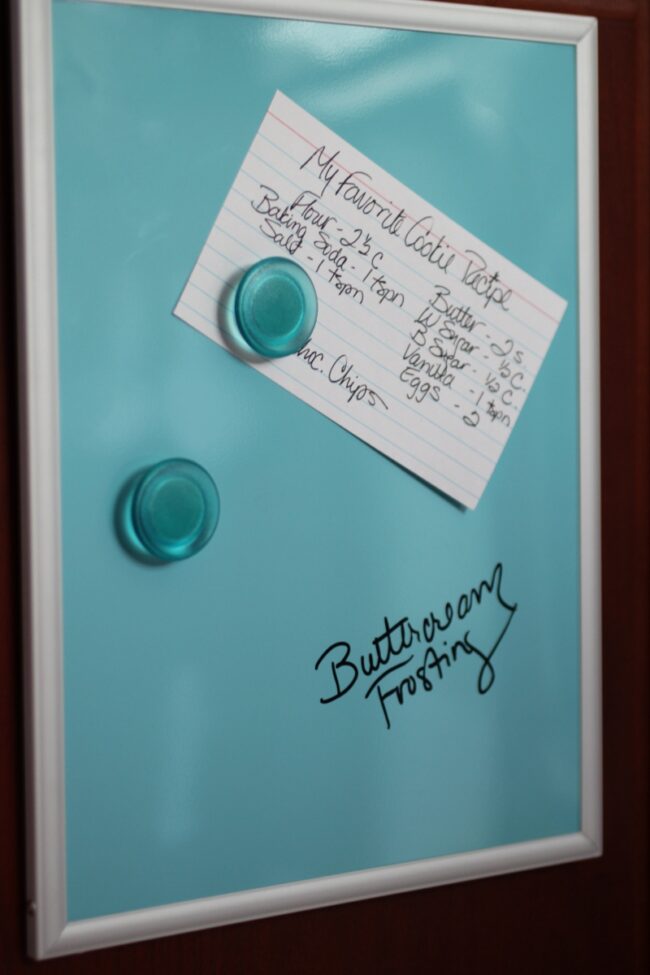
dry-erase board found at Office Depot
Use tools like storage containers. Storage containers like this one are perfect to store supplies like cookie cutters, chocolate chips, decorating supplies and food coloring. They make supplies easy to find, easy to get to and easy to use.
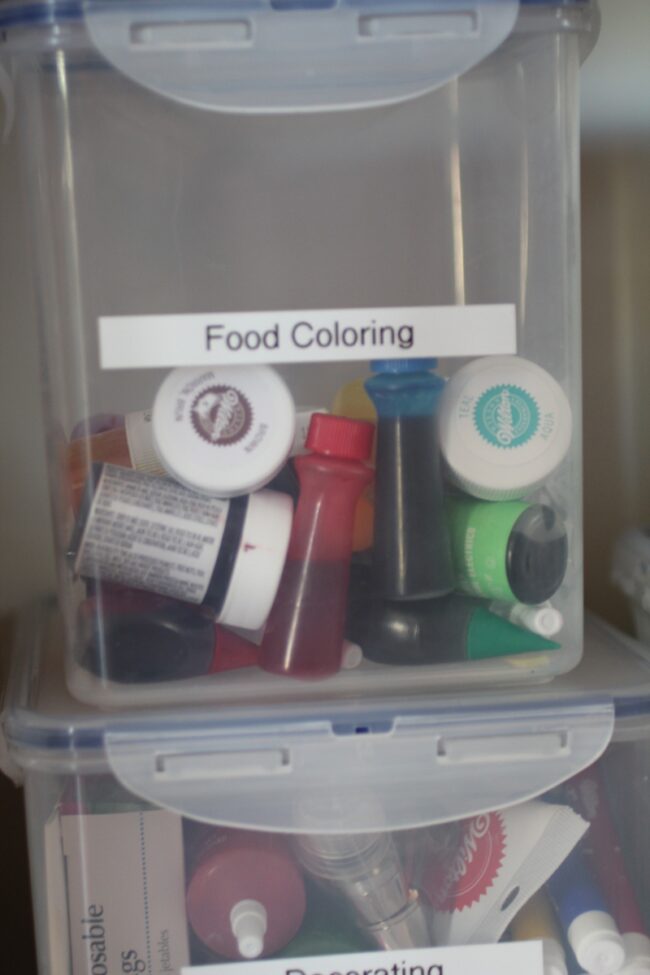
use storage containers for supplies like food coloring and decorating tips
Step 4: Separate Supplies into Categories
I basically sectioned my baking supply cupboard into categories like ingredients, decorating and pre-packaged. Then I took my label machine and labeled the different areas.
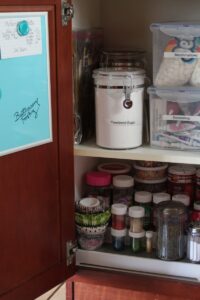
sprinkles have their own section
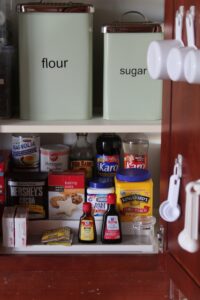
ingredients section
Step 5: Learn From The Experience
I learned that I need not buy anymore sprinkles. I don’t care how sparkly or pretty the sprinkles are. I do not need more.
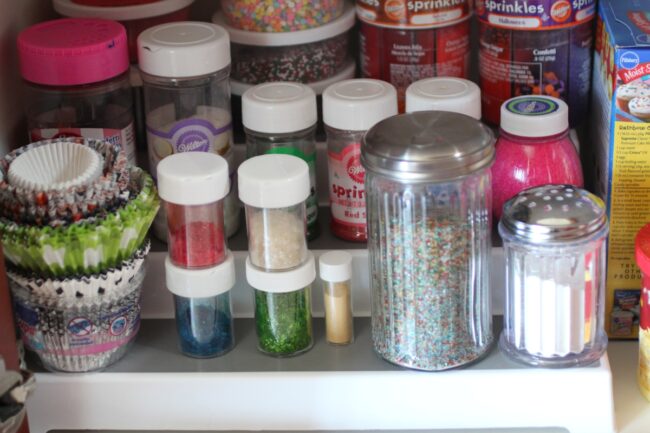
I do not need more sprinkles- I don't care how pretty they are
I can confidently say that I’ve gotten the most out of this small space. So, with baking supply cupboard reinvented and reorganized, I’m happy to start creating in the kitchen again!
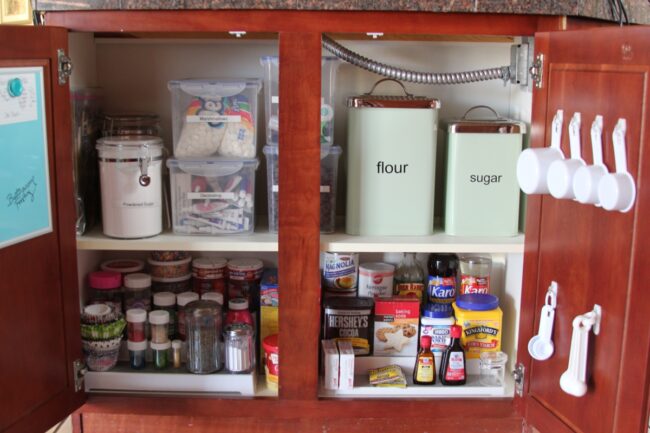
ready to start baking again!
In fact, I just may make my Real Red Velvet Skip The Frosting Cupcakes tonight!

Follow Us on Pinterest
Find more organizing inspiration from our Pinterest Boards!
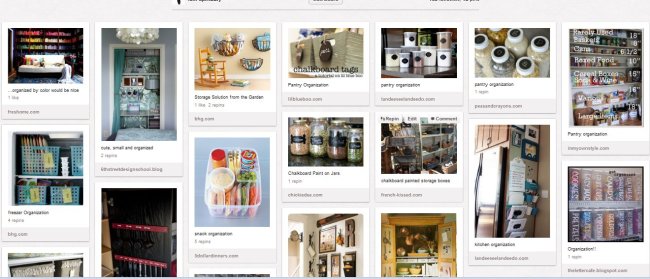
follow our Pinterest Board- Organization Luv
 Email this to a Friend
 Email this to a Friend


