Archive | DIY RSS feed for this section

Chalkboard Paint Jars

In my Snack Organizing project, I talked about how storing our snacks where they’re organized and in one place saves us time and money.  I used glass jars- 2 large and 2 small for this project to create my own home snack store.

Here’s a quick tutorial.

Chalkboard Paint Jars Tutorial

Supplies:

  1. Glass Jars with lids-  (found at Target or here on our online store)
  2. Masking Painter’s Tape
  3. Chalkboard Paint- (found at Michael’s)


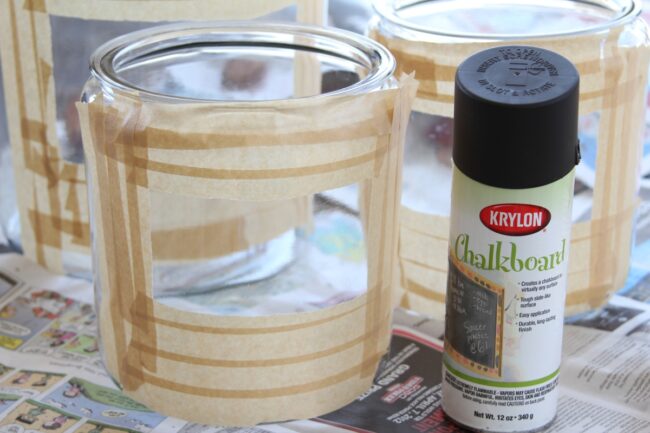
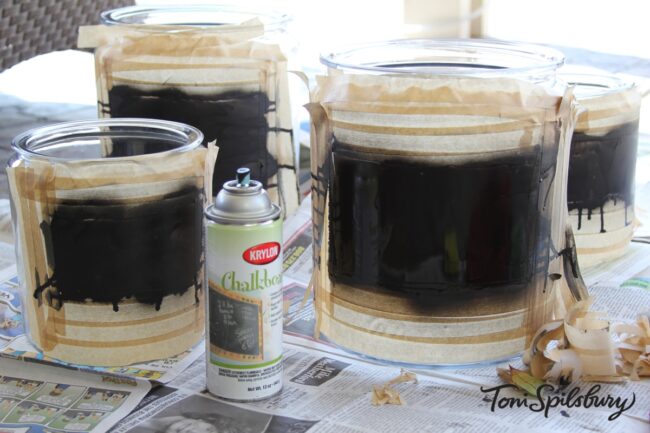
Step 1:  Use tape to mask off jar leaving a rectangular opening in the middle.  To prevent paint from seeping through the tape, create several overlapping layers.

DIY Chalkboard Pain jars tutorial

mask off jar leaving rectangular opening


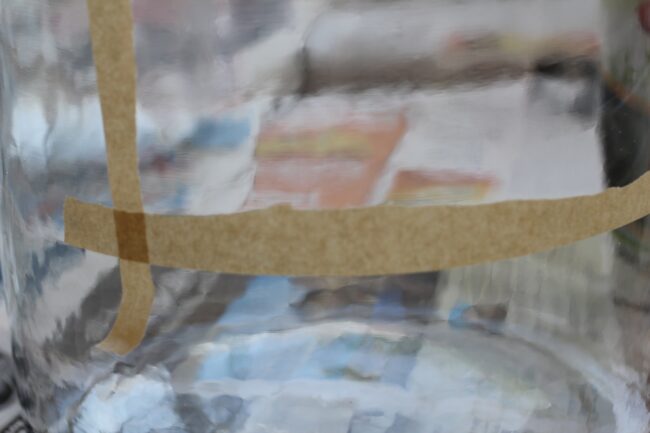
To take the pressure off creating the perfect rectangle, I tore the inside side of the tape to create a “jagged” look.

tear the inside-side of the tape to create a "jagged" look


2.  Spray opening with chalkboard paint.  You can do more than one coat, as desired for best results.

spray opening with chalkboard paint


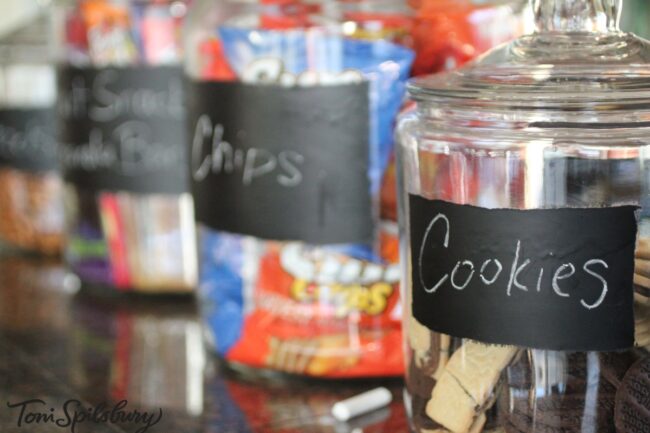
3.  Remove tape after paint has dried completely.

home organizing snacks

Chalkboard Paint Jars- perfect for the Spilsbury Snack Shop!


For more chalkboard paint DIY ideas, visit my Pinterest board:

Chalkboard Paint Ideas For The Home Pinterest Board


Email this to a Friend Email this to a Friend
Comments { 1 }

The Lorax Truffula Tree

How To Make A ‘The Lorax’ Truffula Tree

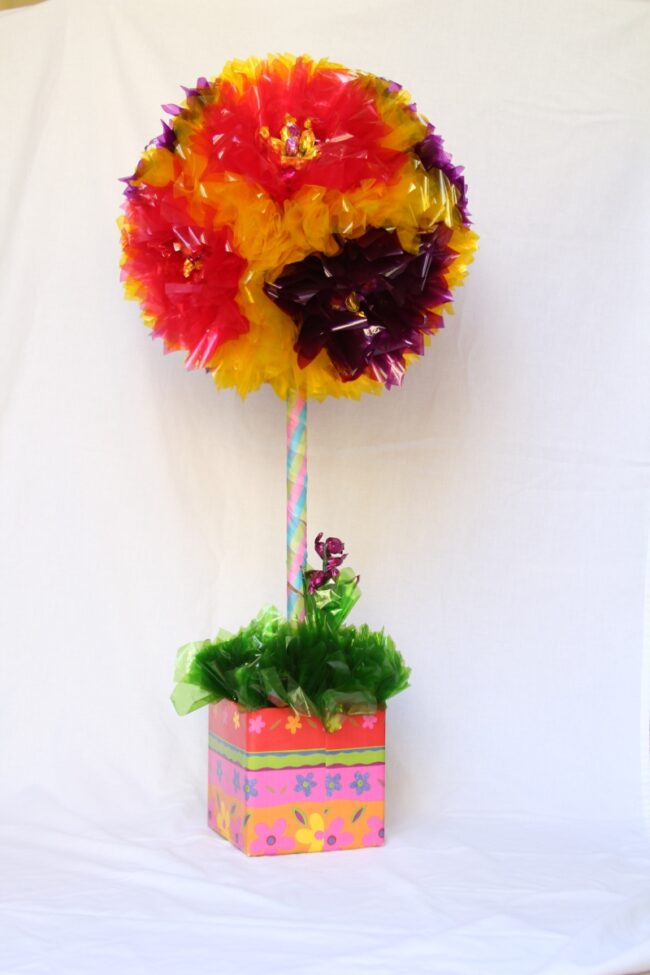
Centerpiece, Party Table or Party Decoration…. the Lorax Truffula Tree is the perfect focal point for any Seuss party. I made them for my daughters birthday party last year and they were a big hit!

Here is how you make a Truffula Tree made from colored cellophane paper.

Seuss Lorax Trufulla Tree

Squares of cellophane paper are pinned from the center into a styrofoam ball secured at the top of a stick from a square styrofoam base. You could use any sort of stick but a broom handle or pvc pipe work well. Wrap the stick with ribbon, wrapping paper, or paint it the grey and brown stripes like the ones in the story. A branch found in nature would give it some great character too!

The base is a square styrofoam piece placed in a plain box covered with gift wrapping paper. You may want to weigh it down with a few rocks placed inside the box. Cellophane is used too make the grass.

What’s great about this tree is that candy can be secured to sticks and stuck in the grass or tree to make it look like Truffula Fruit.

How To Throw A “The Lorax” Party

For more Seuss-inspired party inspiration, visit How To Throw A Lorax Party:

lorax party

How To Throw A 'The Lorax' Themed Party


Email this to a Friend Email this to a Friend
Comments { 0 }

Kids Thanksgiving Activities

Making Thanksgiving Memories

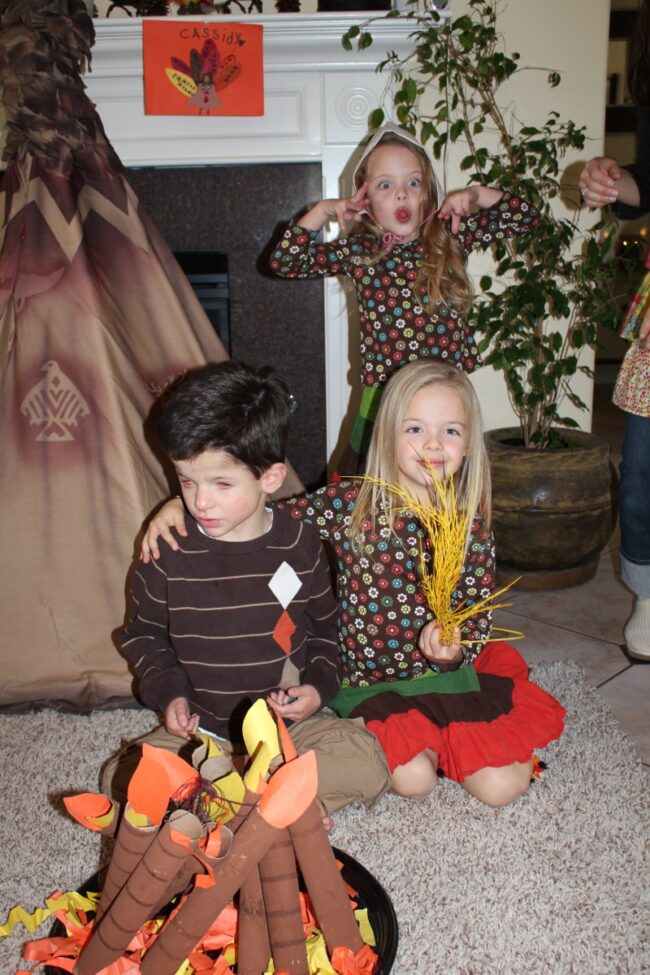
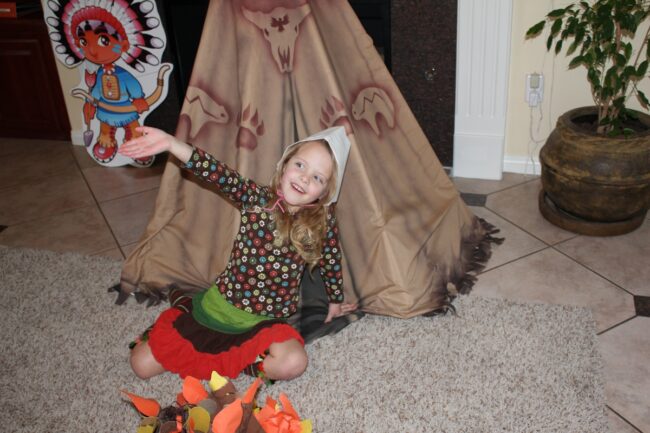
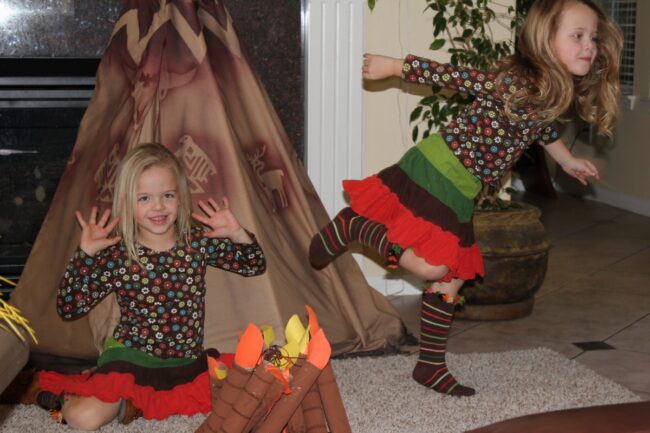
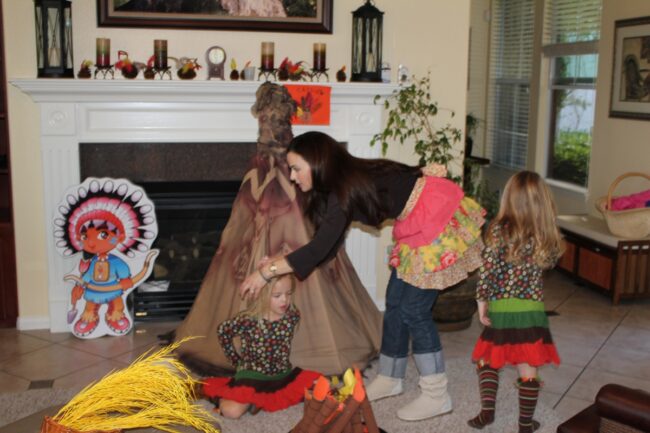
Yes, it’s true.  Last year for Thanksgiving we did a reenactment of the First Thanksgiving with pilgrim hats, Indian headdresses, teepee, pretend fire and all.  It was fun and entertaining for the kids and adults- and yes, perhaps a bit overboard.

But there’s nothing wrong with “overboard” when it comes to kids and fun, right?  After all, these are Thanksgiving Memories in the making for them.

Thanksgiving Activities for Kids

“Not Overboard” Activities

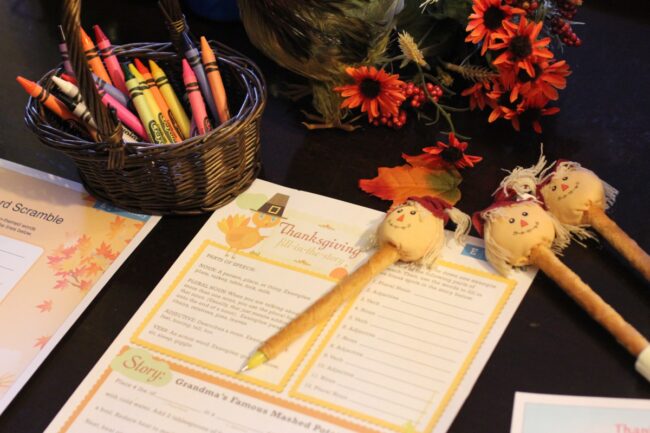
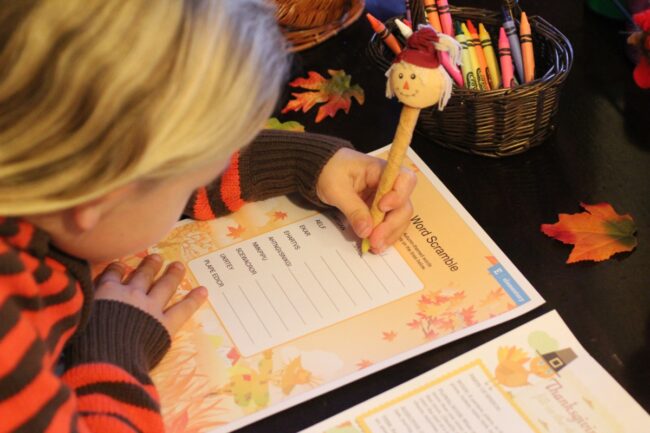
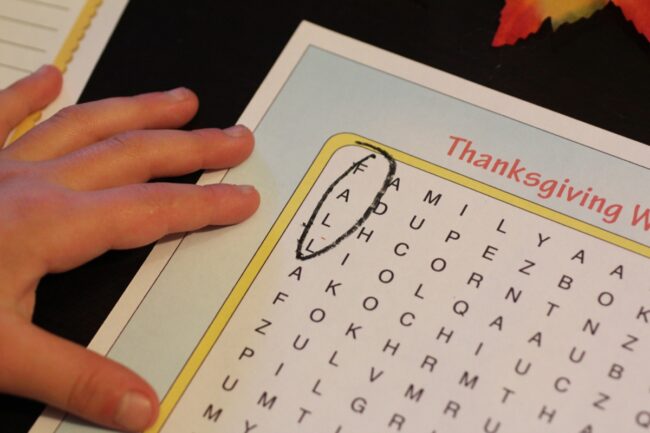
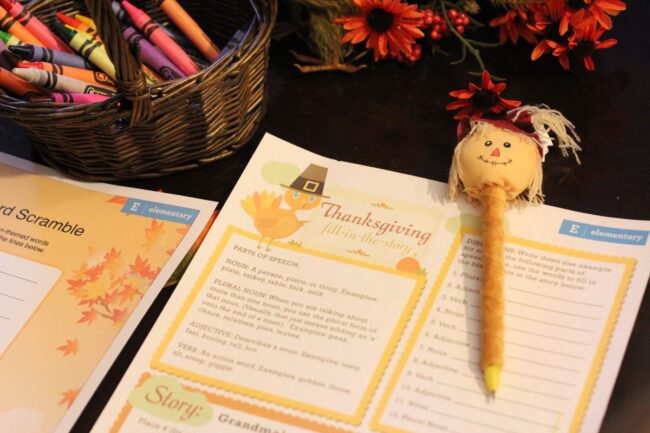
For some simple activities that don’t require erecting a teepee, check out these adorable Thanksgiving activities from HP Creative Studio:

Thanksgiving Kid Activities

HP Creative Studio Kid Activities to print- free!

Thanksgiving Kids Activities

Word Scramble by HP Creative Studios- click here to print

Thanksgiving Kids Activities

Word Search by HP Creative Studio- click here to download

Thanksgiving Kids Activities

Fill-In Story by HP Creative Studios- click here to download


The First Thanksgiving Reenactment

If you are interested in making your own First Thanksgiving reenactment, you can make any combination of the following:

1.  Pilgrim Hat

These adorable pilgrim hats are made from plain white copy paper and yarn.  Here’s a great tutorial from Skip To My Lou.

Thanksgiving Kids Activities

Pilgrim hats made from plain white copy paper

2.  Pretend Fire

A pretend fire can be made from paper towel rolls painted brown and flames cut from red, orange and yellow construction paper.  I used a disposable party tray bottom for the base of our fire.

Thanksgiving Kids Activities

pretend fire made from paper towel rolls and construction paper

3.  Native American Teepee

This one can be tricky.  Here is a great tutorial from Confessions Of A Prop Junkie.

Thanksgiving Kids Activities

Native American Teepee

4.  Picnic Table

For a table and chair, I brought in our outdoor resin kids picnic bench from Playskool.  What’s nice is this doubles as the “kids” table for Thanksgiving Dinner.

Thanksgiving Kids Activities

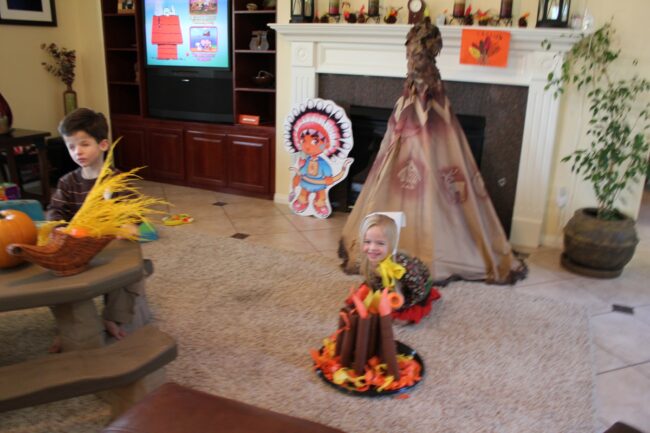
The First Thanksgiving Stage- my family room

Have a Happy & Memorable Thanksgiving!

Toni’s 12 Days of Thanksgiving

If you’re not already signed up for my Thanksgiving planning guide “Toni’s 12 Days of Thanksgiving”, sign up now to receive daily tips, videos and recipes:

Black Friday

Don’t forget about our Black Friday special for The Organized Cook Weekly Meal Plan System.  The biggest discount-ever- for this monthly subscription that brings you the most recent meal plans straight to your inbox each week is 70% off for one day only!

Email this to a Friend Email this to a Friend

Comments { 1 }

Toni’s Tummy Tonic

How To Cure An Upset Tummy

My recipe for Tummy Tonic originated one morning when my friend, Noelle, showed up to my house with an upset tummy.  She was always getting nauseous and said the only thing that settled her stomach was some juice from our nearby raw foods cafe.  “Every time I go there it costs me $8.00 for one cup of juice.  Tou need to make this“, she said.

I took a few sips, and then got to work.  Noelle knows how I love to create my version of a food dish or drink from taste; it’s like playing a game of Sudoku.

I later shared my Tummy Tonic with my grandmother during her visit who also suffers from chronic nausea and she couldn’t believe the immediate relief.  When she got home she shared some with her friend who then used it on her- get this- dog.

One of my daughters gets an upset stomach often from nerves, the poor girl worries about everything.  Toni’s Tummy Tonic to the rescue.

So what’s the secret?

Toni’s Tummy Tonic Ingredients

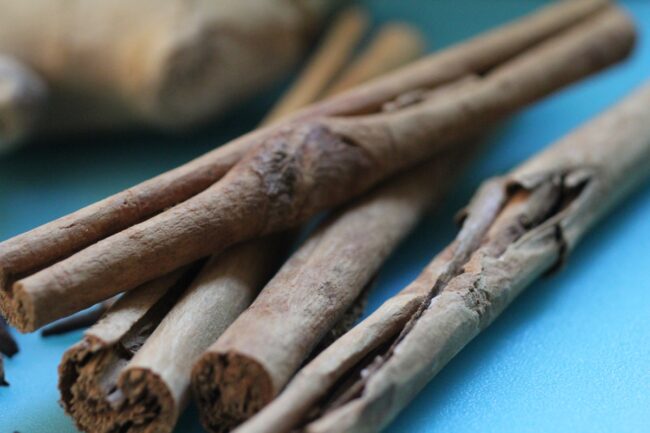
  1. Cinnamon Sticks, 5-7
  2. Fresh Ginger, 1-2 whole peeled and sliced thin
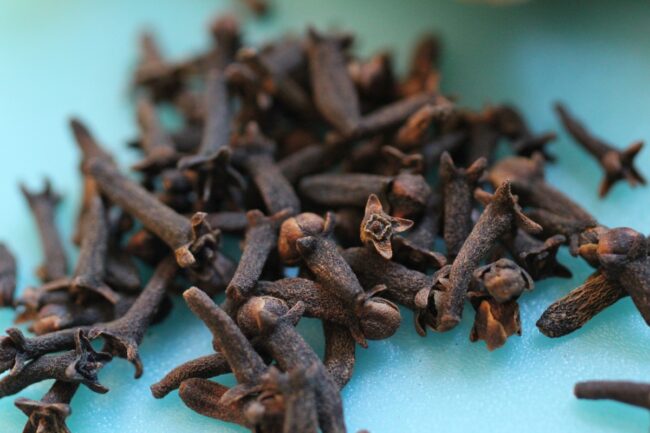
  3. Whole Cloves, 2 tbspns
  4. Ground Ginger, 2 tbspns
  5. Organic Honey, 1 cup
  6. Non-Concentrated White Grape or Apple Juice, 1/2 Gallon
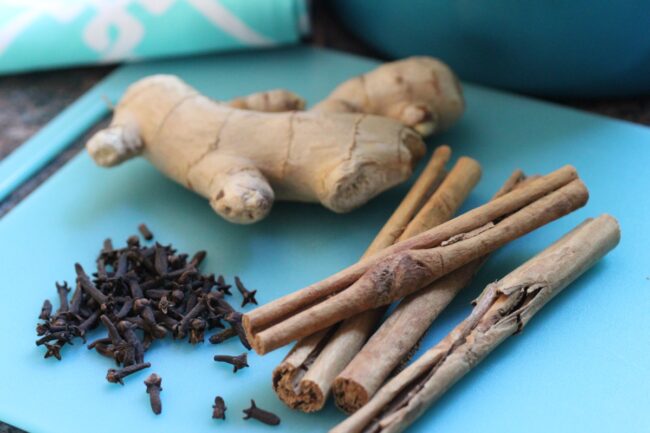
How To Cure An Upset Stomach

Tummy Tonic Ingredients: Ginger, Cinnamon & Cloves

Toni’s Tummy Tonic Directions

The first thing you’ll need is a big stock or soup pot.

1.  Place sliced ginger, cinnamon sticks, cloves and ground ginger in a stock pot 3/4 full of water
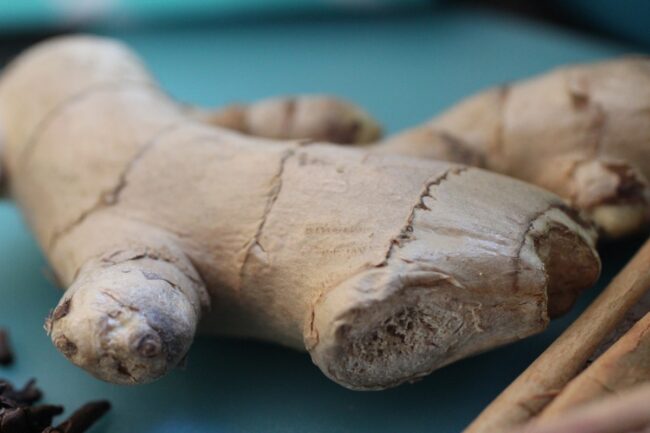
How To Cure An Upset Stomach

Whole Ginger, peeled and sliced

How To Cure An Upset Stomach

Whole Cinnamon Sticks

How To Cure An Upset Stomach

Whole Cloves


2.  Bring to a boil over medium-high heat
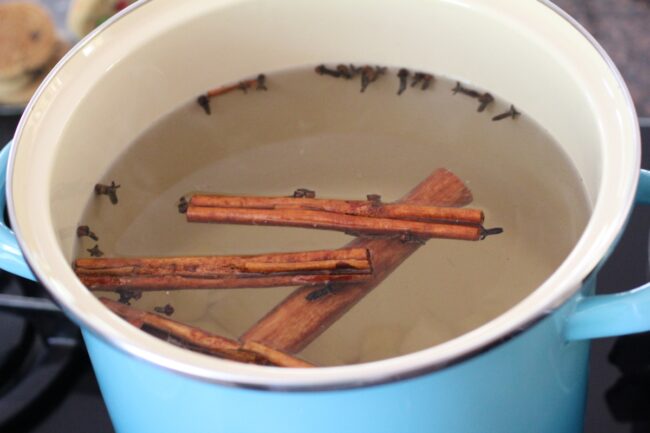
How To Cure An Upset Stomach

The cinnamon sticks and cloves will float, but ginger sinks to the bottom


3.  Let it boil for a few minutes, then cover and reduce heat to simmer for about 10 minutes.

4.  Leave it covered, turn heat off and let it steep for an hour.
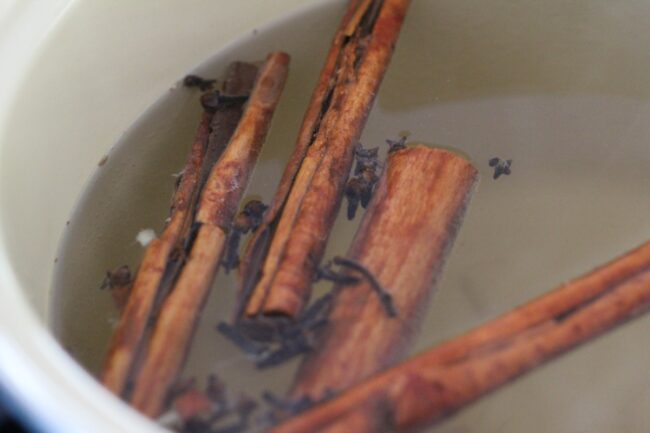
How To Cure An Upset Stomach

Let it steep for at least an hour

5.  Place strainer over another large pot and strain and discard ginger, cinnamon sticks and cloves by pouring through strainer into another pot

6.  Add honey to juice in pot and stir

7.  Combine juice with the fruit juice; you may not have enough room in one pot and will therefore need to pour half of your juice in one pot and half in the other to add the fruit juice to both pots

8.  Store in juice containers in the refrigerator

This recipe makes about 2-3 gallons so there’s plenty to share with your friends, family…. or friend’s dog.


Email this to a Friend Email this to a Friend
Comments { 1 }