In my Snack Organizing project, I talked about how storing our snacks where they’re organized and in one place saves us time and money. I used glass jars- 2 large and 2 small for this project to create my own home snack store.
Here’s a quick tutorial.
Chalkboard Paint Jars Tutorial
Supplies:
- Glass Jars with lids- (found at Target or here on our online store)
- Masking Painter’s Tape
- Chalkboard Paint- (found at Michael’s)
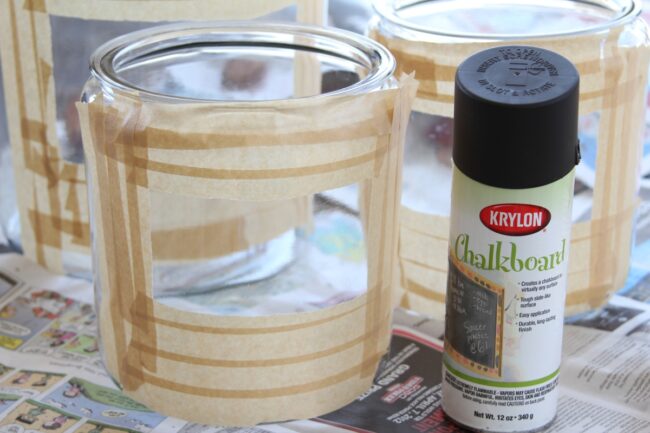
Step 1: Use tape to mask off jar leaving a rectangular opening in the middle. To prevent paint from seeping through the tape, create several overlapping layers.
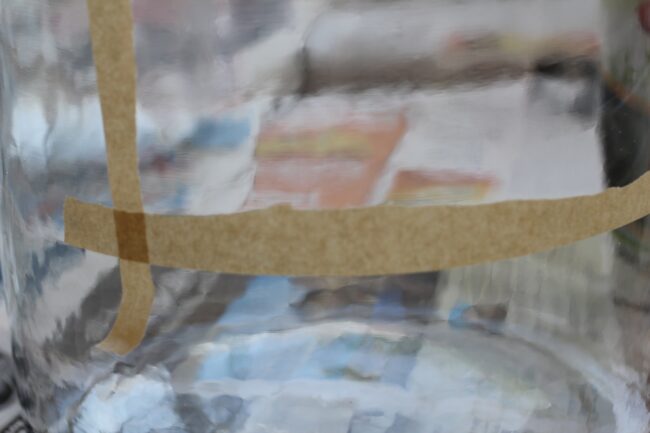
To take the pressure off creating the perfect rectangle, I tore the inside side of the tape to create a “jagged” look.
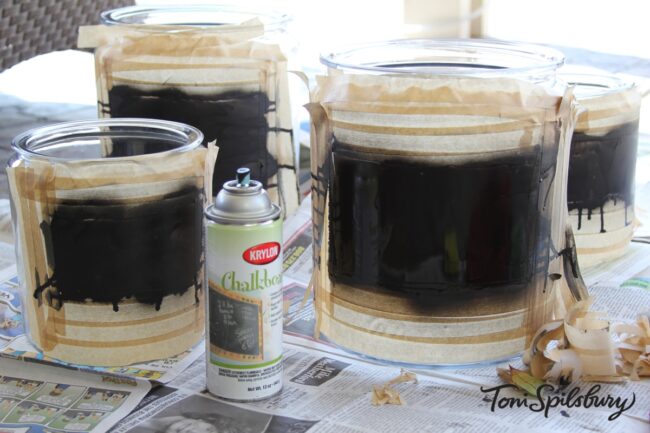
2. Spray opening with chalkboard paint. You can do more than one coat, as desired for best results.
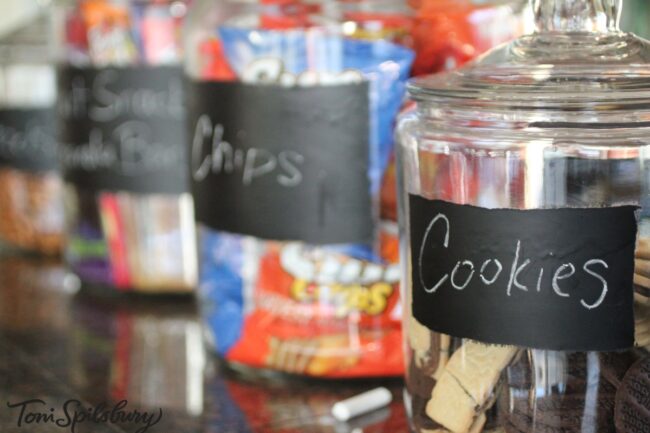
3. Remove tape after paint has dried completely.
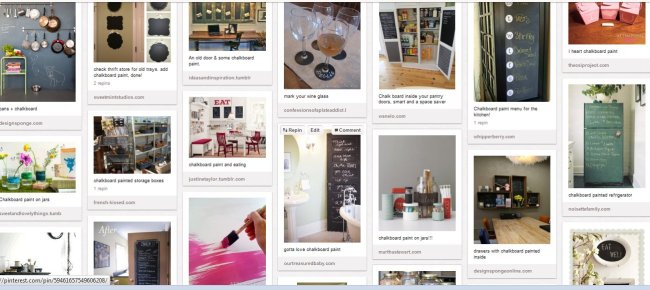
For more chalkboard paint DIY ideas, visit my Pinterest board:
 Email this to a Friend






[…] I love to label everything, I decided to use chalkboard paint on my jars. Here is a quick tutorial for creating your own Chalkboard Paint Mason Jars: Tutorial DIY Chalkboard Paint […]