Archive | Busy Mom Living The Dream RSS feed for this section

Throwing Routine To The Wind

I never knew how much my husband plays a part in keeping daily routines on track until he’s gone.  He is so Type-A personality that any deviation from our evening schedule sends his head twirling.  So, with OCD-husband and son gone on a trip to Arizona for two days, the girls and I are left to fend for ourselves.  I decided to throw routine to the wind and take this day to explore a bit on what it would be like to just let the day guide us.

It started early in the day with so many things for me to do that I didn’t know where to begin. Household chores, errands, planning; it was one of those times that, even though I had enough work to keep me busy all day, I just couldn’t seem to focus to accomplish one thing.

So, I did the logical thing.  I packed up my girls and we headed off for an afternoon at Town Square, to play in the park, shop and have lunch.  It’s amazing at how much that type of logic works!  The weather was so beautiful and the surroundings so upbeat and fun, by the time we returned home a couple hours later, I was so rejuvenated and focused, I got everything done that I needed to do in about an hour.  Not to mention that I scored a couple of bras from Victoria’s Secret semi-annual sale for next to nothing (now, I never would have made that sale if I had planned to.)

With only one thing left to do, I sat down at my computer to work for about an hour.  This is not too long to leave my girls on autopilot in the house, still in earshot.  As I sat working, never in a thousand years could I conceive of the destruction that was taking place not more than 20 feet from me.  Yes, I expected to do a little picking up, perhaps some wiping up when I was finished.  But, have you ever seen one of those movies, where the house is overly trashed by the kids in order to get across some comedic point?  Well, that was my house.  I’m talking, glitter in every shade, scraps of who-knows-what, wrappers, tiaras, food, uncapped markers and kid makeup….everywhere.  If I was watching this on the big screen I would be laughing.  But, it wasn’t a movie, it was my house.

After baths and damage control on our home the best I could, we girls decided to have a “camp out” (not my idea, of course).  If my husband were here, this idea would be met with groans and complaints.  But he’s not here, so the girls and I- sleeping bags, popcorn, juice boxes and pajamas are camped out on my living room floor watching Beverly Hills Chihuahua.

I’ll be happy to have my routine, and husband, back tomorrow night; but for now, I’m enjoying the moment.

Email this to a Friend Email this to a Friend
Comments { 0 }

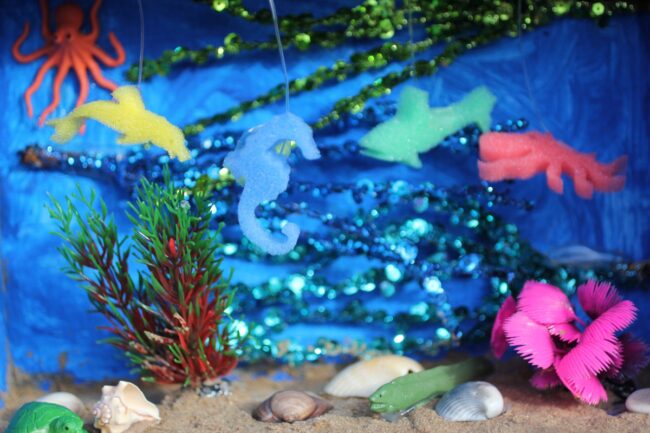
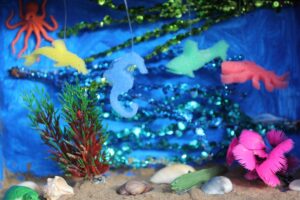
How To Make An Ocean Diorama

Ocean Diorama School Project

Ocean Diorama School Project

Ocean Diorama School Project

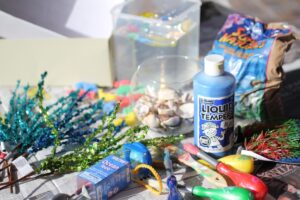
Supplies:

  1. shoe box
  2. blue paint (tempura paint is best)
  3. sand (aquarium supplies from pet store)
  4. plastic sea plants (aquarium supplies from pet store)

    ocean diorama supplies

    Ocean Diorama Supplies

  5. shells (Michael’s or pet store)
  6. glue (Elmer’s glue)
  7. plastic sea animals (Michael’s)
  8. sponge sea animals (Michael’s)
  9. jewelry fishing line string (Michael’s)
  10. metallic floral “picks” (Michael’s floral department)


Directions:

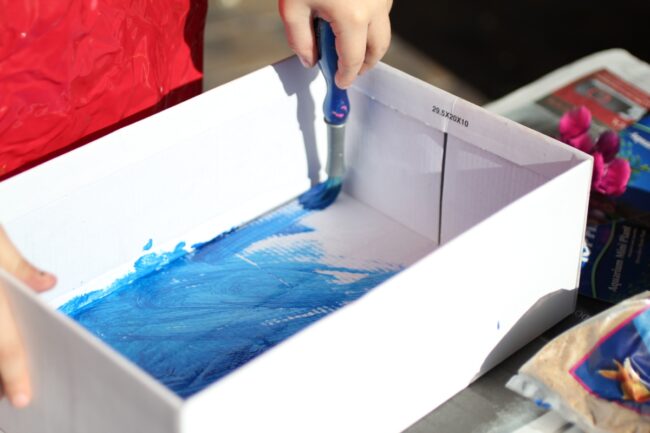
  1. Paint inside of shoe box blue
  2. With box sitting on side length-wise, glue plastic sea plants to the bottom
  3. coat bottom generously and imperfectly with glue, then pour sand over the top to form ocean floor (can repeat this step)
  4. glue shells and bottom-dwelling plastic animals to the top of sand
  5. glue metallic floral picks to the back to create “waves”
  6. punch small holes in the top of box and thread strings of different lengths and dimensions through holes securing at the top with a knot, then tie foam sea animals to the bottom

How to make an Ocean Diorama for school project


Crafty Organization

Perhaps I love school projects a bit more than what is deemed normal.  Yes, I tend to go overboard, but for me it’s where creativity, fun and time well-spent with my kids meets education.

My oldest daughter will live to be 100 and never forget the edible Galapagos Island we made for her anthropology class.

This week’s mission: Ocean Diorama.  Yes!

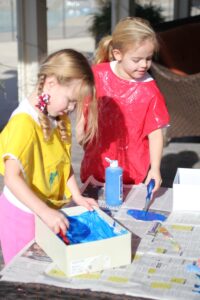
My biggest challenge in doing these types of projects is letting my girls completely takeover.  After all, that is the point, and it is their project, not mine.  So when creative differences arise, it’s my duty to allow their drive take over.

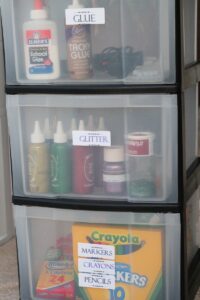
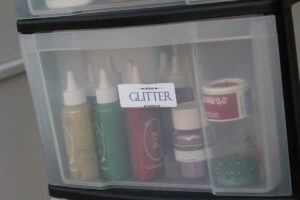
As always, being organized is super helpful.  I’m sharing my Craft Supply Labels with friends of the The Organized Cook. Download, print and label some basic plastic storage containers with these colorful, fun labels and make craft projects a lot easier to manage.

Email this to a Friend Email this to a Friend
Comments { 1 }

Keep Calm and Carry On

The time for making resolutions is upon us.

Unfortunately, my head hasn’t stopped whirling from the past couple of months.  It was like the Disneyland tea cup ride.

And while everyone else’s ride may have stopped after Christmas.  I had the one final go around for my five-year old daughter’s birthday which happens to fall on New Year’s Day.

I can sympathize with having a birthday on New Year’s Day, because I too am a New Year’s baby.  Which is why I couldn’t cheat her out of having this special day to herself; after all, it’s not her fault that the big day is just a week after Christmas.  I can really relate to what my mother went through with me growing up.

So, with Christmas wrapping paper still on the floor, I leaped into party planning mode.  “Just make it simple”, I told myself.  “Yeah, right”, my true self answered.  Sure, it may have been easier to phone in a Chuck E Cheese party or something similar, but it’s just not like me to do something so impersonal.  So, keeping in theme with the holidays, I chose (at the very last minute) to have a Sugar Plum Fairy Snowflake birthday party….simple, right?

I got the Nutcracker-themed party idea from my friends at TomKat studio, however, this party was not available to purchase.  No problem, I figured I would just do it myself and began feeling even more confident after I read this text from my friend, Jennie, “Oh the best events r the last minute ones!”.

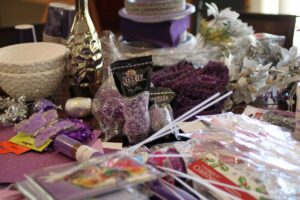
So, with Michael’s after-Christmas sale on my side, a few bucks bought me a gaggle of all things sparking purple, shimmering pink and glittery silver.  It took me an hour to plan the party (it’s not planned until it’s on paper), an hour to confirm friends (“I know this is so last minute….wasn’t sure if you were in town……birthday party……New Year’s Day”) and an hour to decorate.  Then I was off for a trip to my favorite cupcakery.  Voila!  Now it’s a party.  Plus, I spent less than I would have given that mouse to host a party at his noisy pizza joint. My favorite cupcake stand makes any occasion more elegant and festive; it was one of those victory finds at my HomeGoods store.

Jennie was right.  The party was the best….with a bunch of simple snacks and and some “melted snowflake” punch, we had a great New Year’s Day birthday bash.  And here is what I learned:

1. For melted snowflake punch mix together 2 parts white grape juice with 1 part grape soda and throw in ice cubes made from sparkling sugar and water.

2. For events that are “the best”, mix together close friends, personal touches and a bunch of purple glitter.

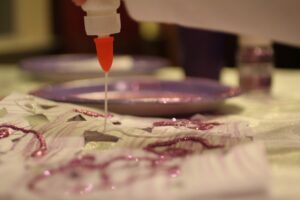
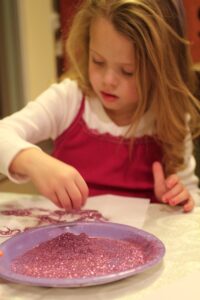
3. There’s no easy way to clean up purple glitter.

Now that this ride has stopped I am taking a look around at resolution lists unmade and to-do lists undone.  All I can think to do is grab a pen and paper and Keep Calm and Carry On.

Email this to a Friend Email this to a Friend
Comments { 0 }